Remote Event Receivers Creating and Debugging in SharePoint Online
In this post we will describe how to create and debug Remote Event Receivers for SharePoint Online (Office 365). As an example, we will create a project, which will have an event receiver that is triggered on item creation in Report list.
Create a project in Visual Studio 2013. Select the App for SharePoint template.
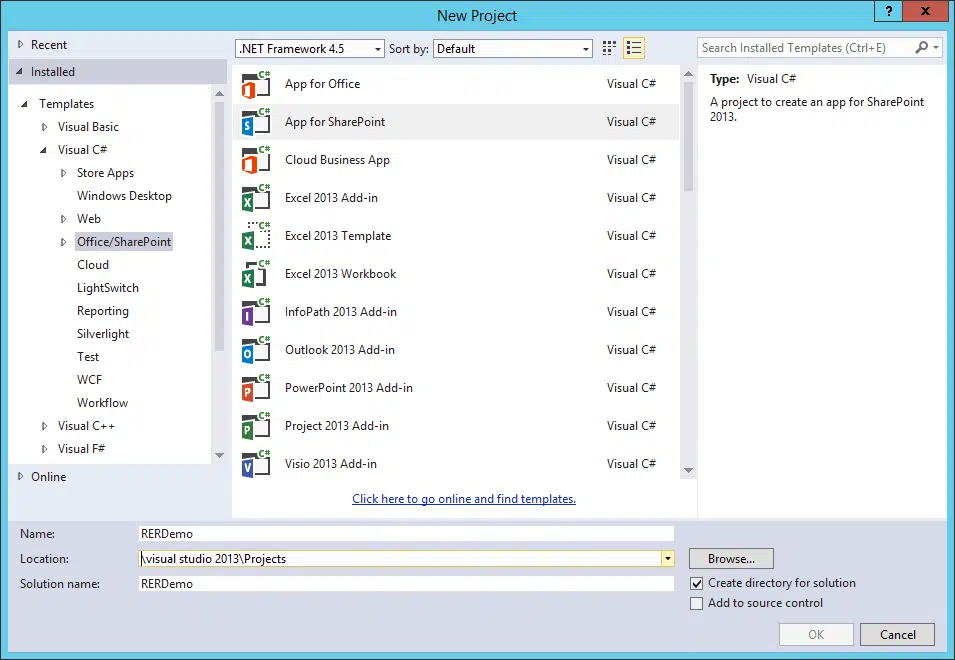
Remote event receivers are supported only by Provider-hosted applications, that is why we choose this type. To create the application, we also need an account in Office 365 (you can purchase a licensed version from the developer, or use a 30 days trial).
Enter the website address where our application will be accessed.
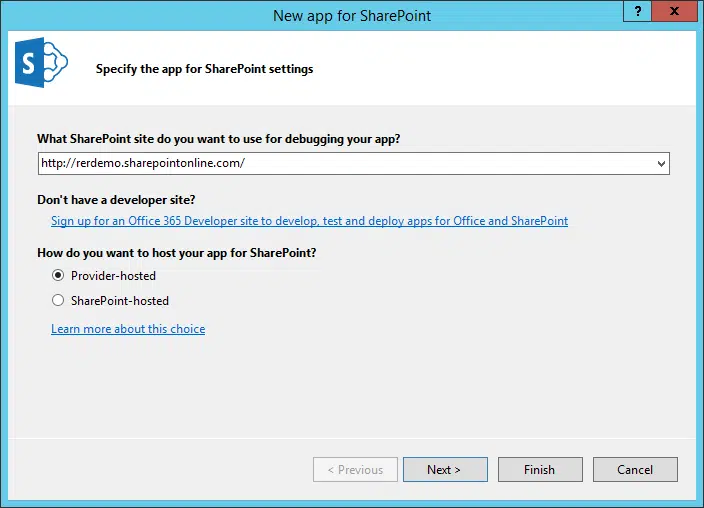
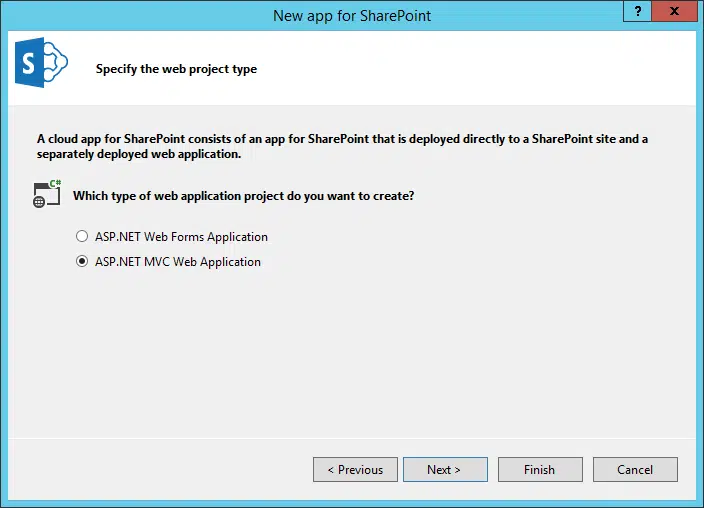
Choose the type of web application. Our example – Asp.Net MVC Web Application. Click Next.
Window with a choice of the authentication type will appear. In our case we used Azure Access Control Service.
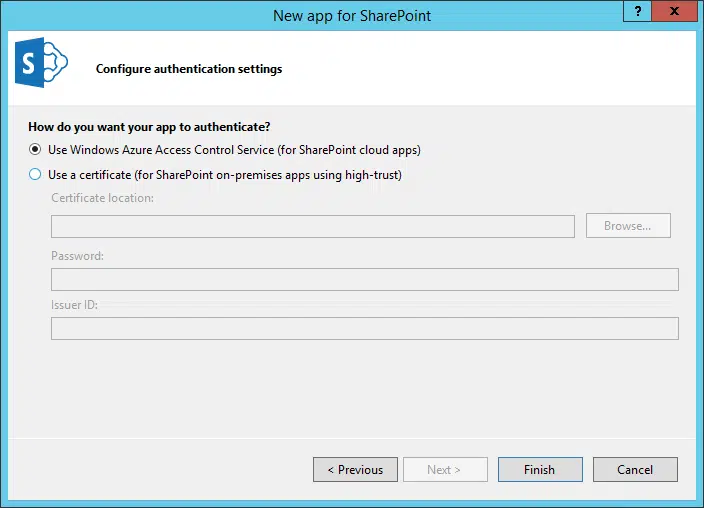
Click Finish. Thus, the solution is created. It consists of two projects. RERDemo – is the actual application (app) for SharePoint, the second RERDemoWeb – is a website service that is responsible for receiving events.
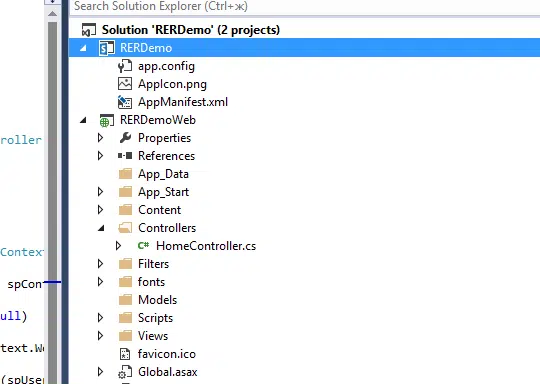
Let’s add Report list to our application.
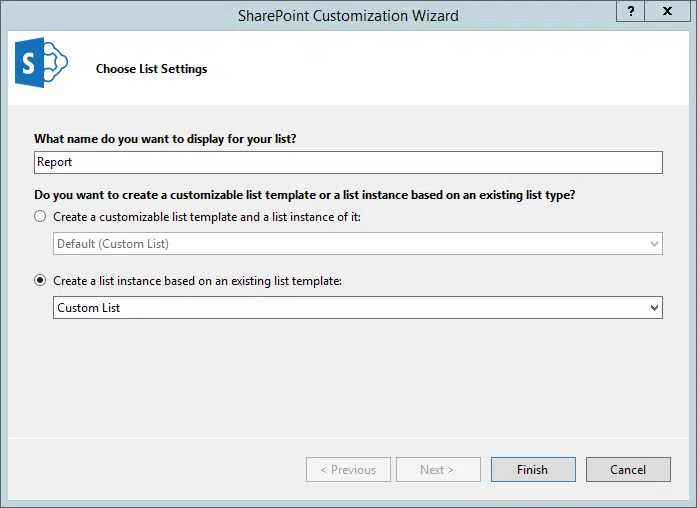
To do this, perform the following steps: right click on the title of the project RERDemo -> Add .. -> New Item … -> List. Enter the list name Report
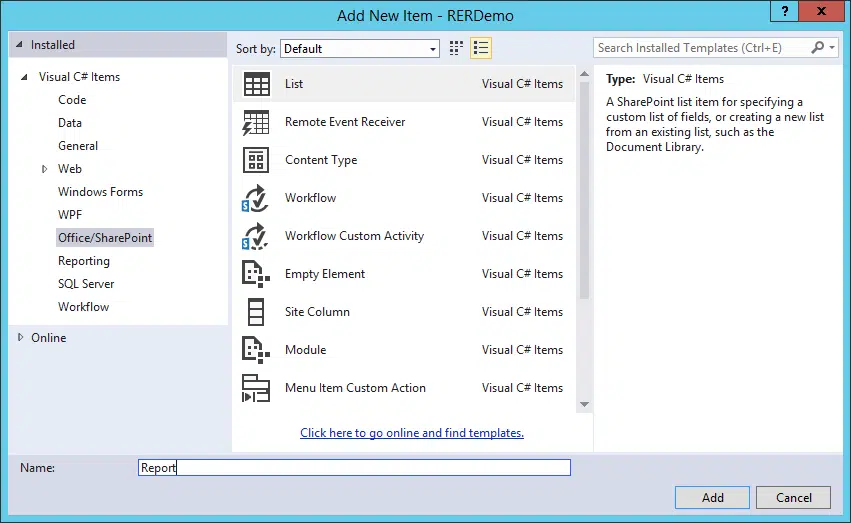
In the settings window, select: Create a list instance based on an existing list template, namely Custom List. Click Finish.
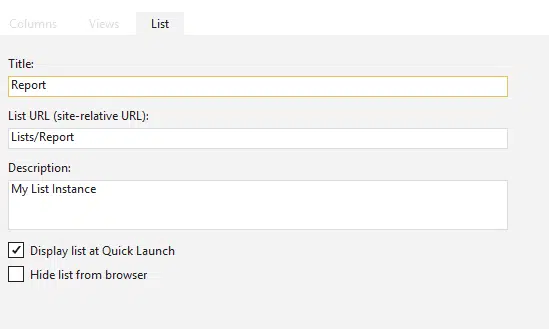
After creating the list, a tab with the list instance settings opens. There is no need to change anything, so we close it.
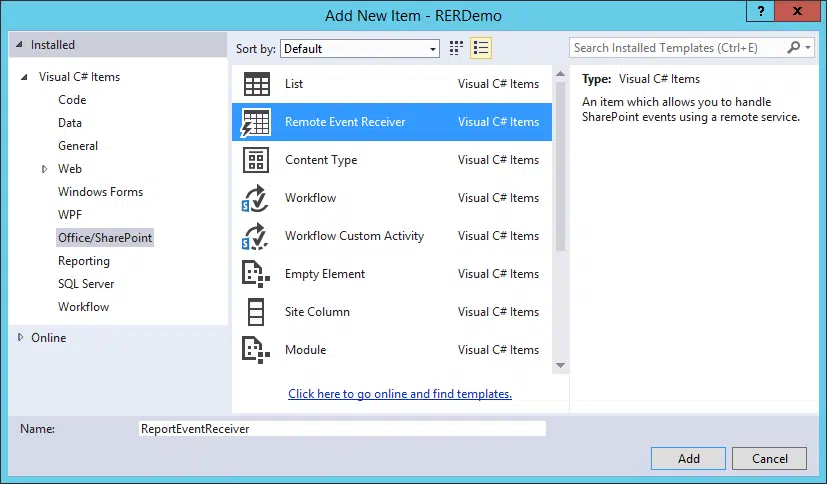
Add an event receiver. To do this, right click on the project name RERDemo in Solution Explorer -> Add -> New Item …
In the appeared window, select Remote Event Receiver. Let’s name it ReportEventReceiver. Click Add.
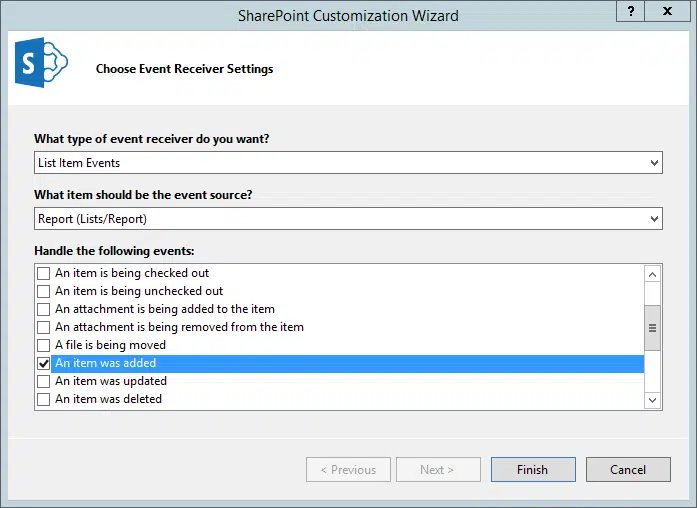
You should see the window with the event receiver settings. Select the type of event receiver – List Items Events. Then choose the event source – Report (List/Report). And for our example, select the type of received events – An item was added (ie, our receiver will be triggered after the creation of an element in the Report list).
Once you click finish button, in Visual Studio opens the tab with code of the receiver. We will examine it later. Now take a look at changes in the Solution Explorer. In the RERDemo project appears ReportEventReceiver element. If you open it, you will see the layout that is responsible for adding the receiver to the Report list.

In layout there are settings that we have set when created the receiver. Here we are interested in the Url element. It has the address of the service, which will be triggered when event appears. ~ remoteAppUrl – is a token that will be replaced with the real address of our service.
Let’s take a look at the RERDemoWeb project. There is Services folder, which has the code for our receiver service. Double-click on ReportEventReceiver.svc, to see the service code.
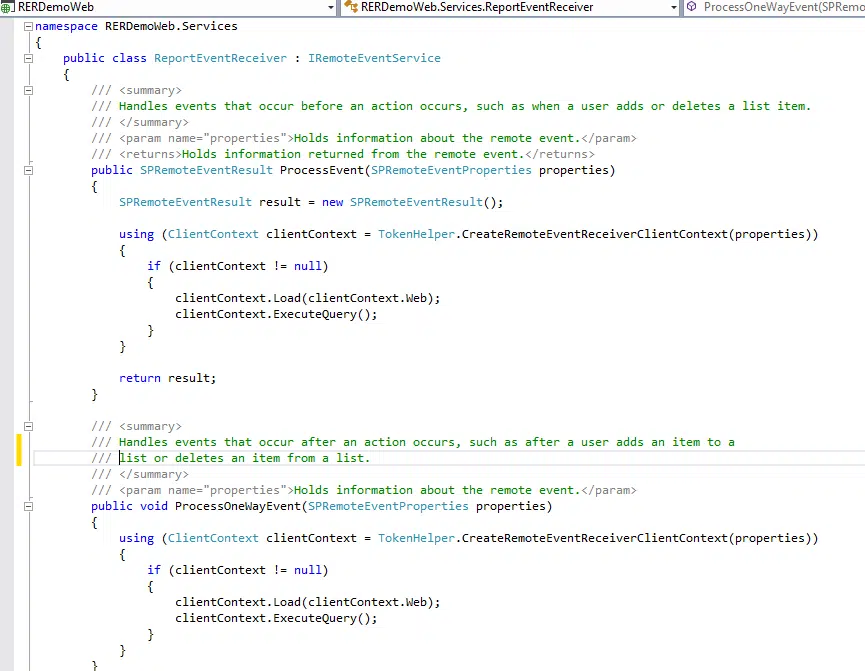
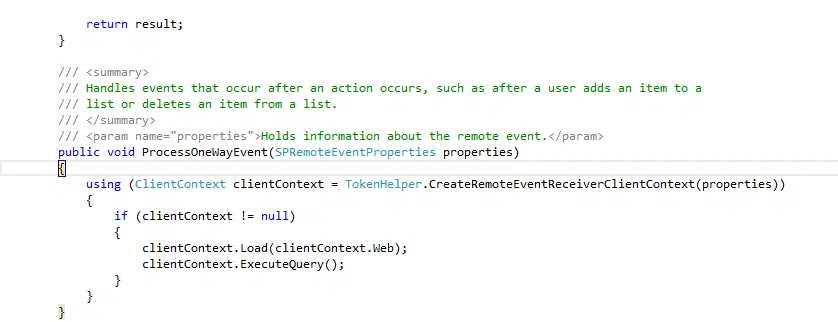
ReportEventReceiver implements IRemoteEventService interface, namely two methods: ProcessEvent and ProcessOneWayEvent. The first will be called when synchronous events will be triggered, the second – when asynchronous ones.
Due to fact that our receiver is triggered when an element has already been created (but not when an element is creating), this method is called ProcessOneWayEvent. Unlike the ProcessEvent method, which may affect the event itself by the return value of SPRemoteEventResult result, ProcessOneWayEvent method works in one direction (what OneWay says in its name).
Creation of our application is complete for now. We have not written a single line of code, Visual Studio made it for us. Let’s run our application in debug mode and see what happens. Put a breakpoint in the method of ProcessOneWayEvent and press F5 …
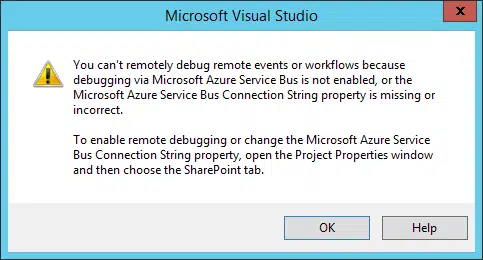
We get a warning message that we cannot debug remote events without turning on Microsoft Azure Service Bus. Click OK, close the IE window that opened, and let’s figure out what it means.
When an event appears (creating an element in the Report list), the service responsible for receiving an event will be triggered. However, when debugging, our service will be located in the localhost (on our computer). Roughly speaking, when there will be an event on your site on SharePoint Online, there will be created a request to https: //localhost/Services/ReportEventReceiver.svc, which is not unique.
Azure Service Bus (messaging service) helps to get through this issue. It allows to call for our event receiver, which is located in localhost.
You can read more on msdn, now we move to the service configuration. To do this, we need an account in Microsoft Azure. You can get it for free for 30 days.
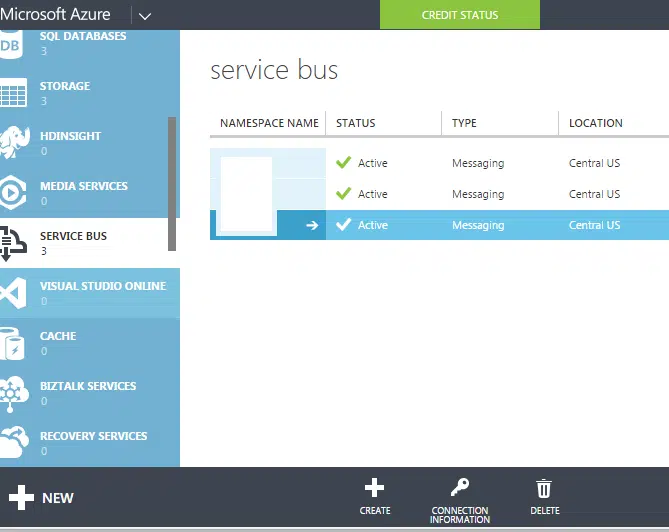
Go to the Azure portal, open the Service Bus tab, click Create.
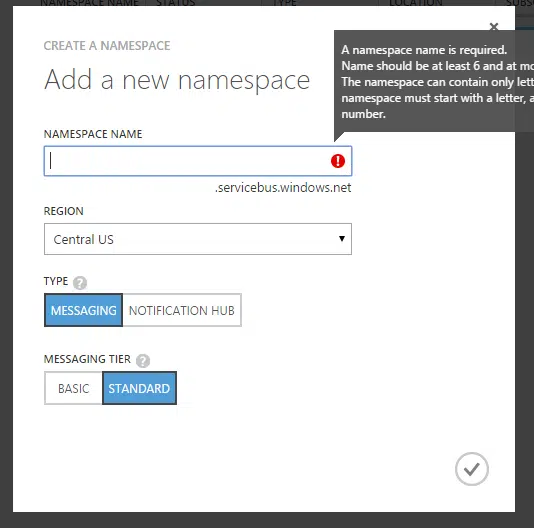
In the appeared window, enter the name and leave the rest of settings without changes, click the tick.
When Service Bus is created, press on its name, then click CONNECTION INFORMATION. A window with information on connection to created service will appear.
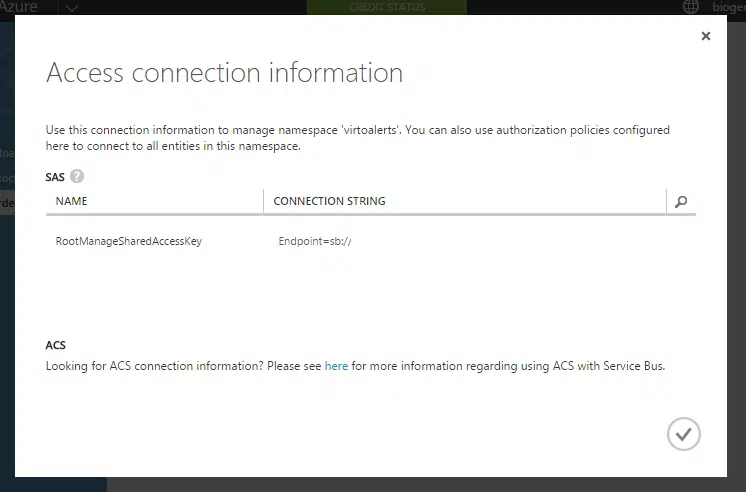
At the moment there are two types of connection: SAS and ACS. In order to be able to debug event receivers through Visual Studio, we need the ACS type of connection. However, in the above image we can see, that there is no such connection. Congratulations, we have created something that cannot be used for debugging. How to create the ACS connection string through the Azure portal? – It’s impossible!
Therefore, close the Access connection information window. Next remove our Service Bus. To create a Service Bus with ACS, we need Microsoft Azure PowerShell. Open Web Platform Installer (or install it, if you have not done it yet). Enter it in the search line: Microsoft Azure PowerShell. Then install Microsoft Azure PowerShell with Microsoft Azure SDK.
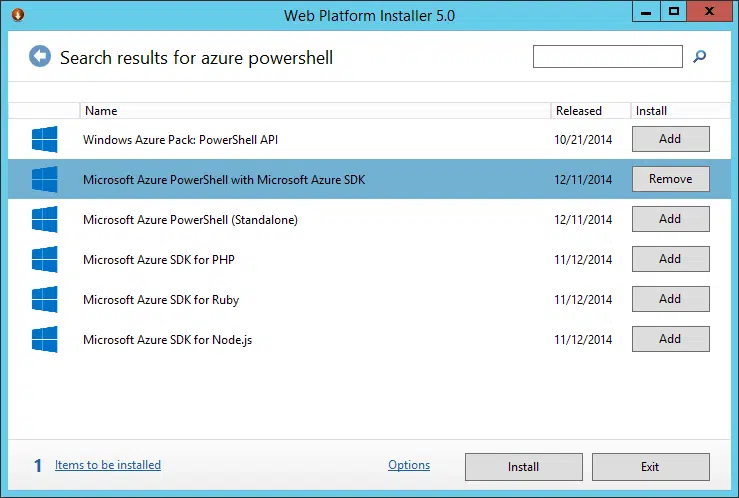
After installation is complete, run the Azure PowerShell
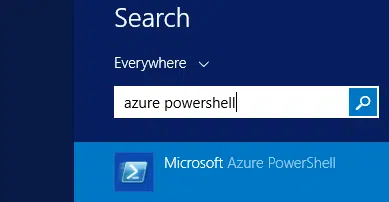
After launching Azure Powershell, perform following commands:
Add-AzureAccount
Get-AzureSubscription
Select-AzureSubscriptionSubscription_name
After you enter the first command, you will be asked to log in. Then we get the name of our subscription. And in the third command we choose subscription.
Enter the last command: New-AzureSBNamespace ‘Service_Bus_Name’ -CreateACSNamespace $ true -NamespaceType Messaging (think of some name and write it in quotes).
Open Azure Portal again, find the created service bus, click CONNECTION INFORMATION.
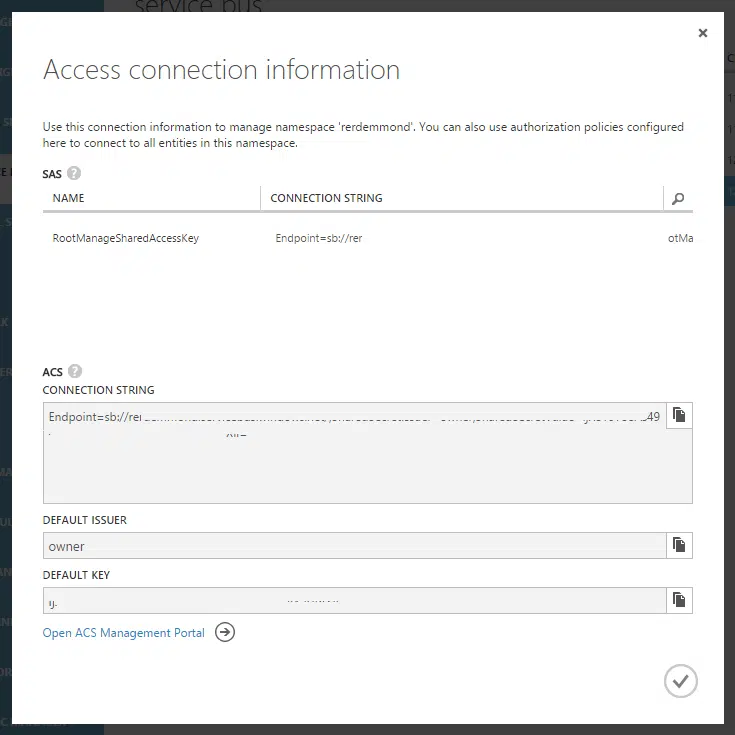
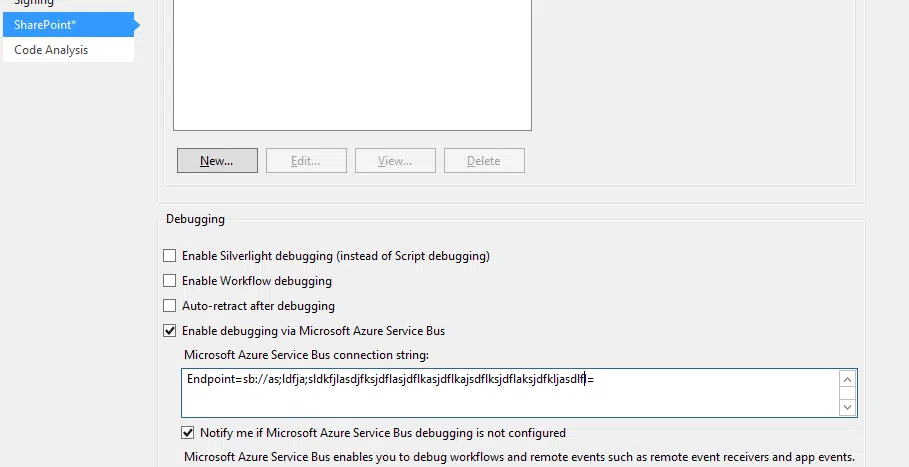
We now have the ACS connection string. Copy it to the clipboard and return to Visual Studio. Right click on the project name RERDemo and choose the project properties. Go to the SharePoint section, then at the bottom click the tick – Enable debugging via Microsoft Service Bus, paste the connection string to the clipboard.
Now we have just a few steps to go. In RERDemo project double click on the file – AppManifest.xml. And in the window that appears, set the value in the StartPage RERDemo / Lists / Report
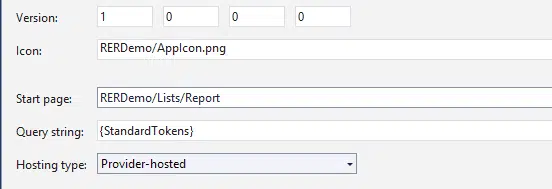
We did this in order to open a page with our Report list when launching, in which we will be creating elements. So now let’s start our solution in debug mode – press F5.
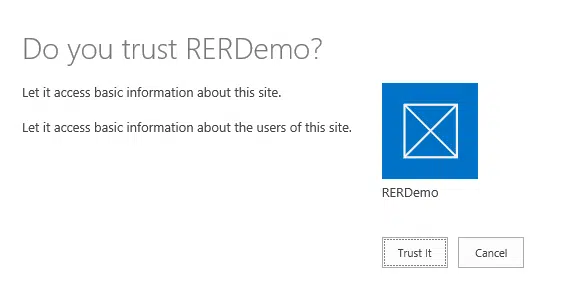
Trust the application:
This will open the view of Report list:
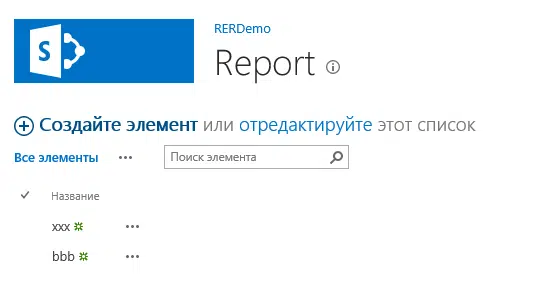
Create an element and …. Yay! Visual Studio icon on the toolbar flashes in yellow, which means our breakpoint worked out.
In the next post we will describe how to connect remote event receivers for lists that are on the web site (not on the web application, like in this example).
Written by Alex Shelopukho, Sharepoint Developer at VirtoSoftware
